
The Framing of Umbrella Sky Part 1
Washing Umbrella Sky:
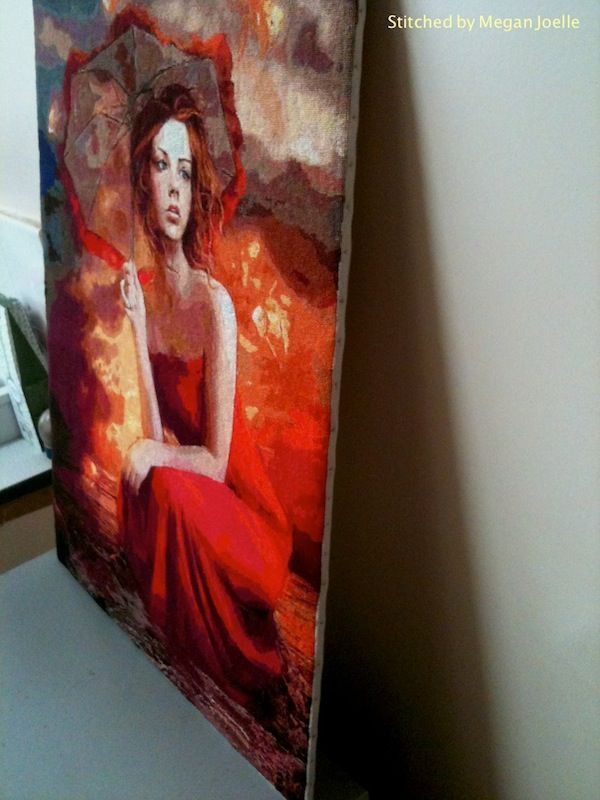
It took me about five months to get the courage to wash Umbrella Sky. Besides I wanted to enjoy looking at it for at least that long in case something went wrong (I was concerned about the reds running). Thankfully it went well and no thread ran! She was washed in cold water with a tablespoon of Orvus Soap (also called Quilt Soap). I washed and rinsed her twice because she was extra dirty and needed it! After that I rolled the stitching between two towels to squeeze out the excess water. She was ironed (straight away) with a plain color tea towel over the top. Usually you iron the piece face down, but I found this was not as effective at getting wrinkles out. It worked much better ironing face up (with tea towel over top). Then she was left to dry on a flat surface.
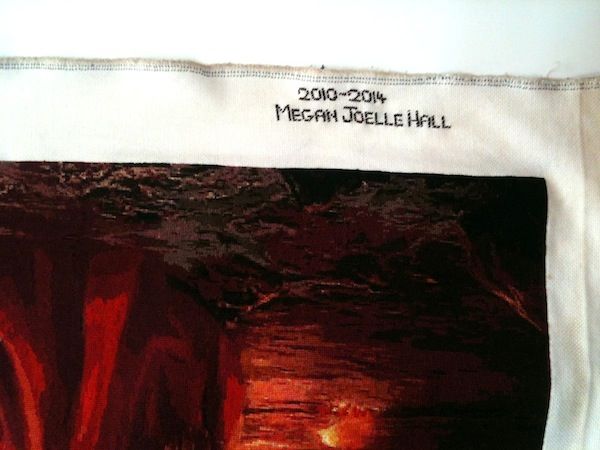
I stitched my name and years worked on into the border:
Framing Dilemmas:
Different framers had different ideas on the best way to frame a work like this. This meant I ended up doing lots of research myself to try to figure out the best method to use. I considered lacing, pinning and stapling methods. I decided against lacing, which I'm sure works perfectly fine with a small piece of stitching. However, I'm sure with a piece this large it would be a nightmare! Stapling goes though the weave of the fabric, whereas pinning can go though the hole in the fabric and therefore is less damaging. So I decided pinning was the best way to go. This was an issue because the framer wanted to staple the fabric and didn't offer pinning. The other issue was the stretcher frame they wanted to staple it to was quite wide. (A stretcher frame is a wooden frame like the ones used to stretch canvas over for artists). This severely limited my choice of mouldings because it meant the moulding had to be extra deep to hold the width of the stretcher frame, the glass and spacer. (A spacer is used to keep the glass off the stitching, otherwise it could potentially get mouldy if placed directly against glass). Usually this is not an issue if you have a matt board, because then a completely different framing process is used. In that case they staple the stitching to a board and the matting obviously covers the staples and keeps the glass off the stitching. A board is much thinner and therefore you get more choice on the mouldings you can use. However, I really didn’t want a matt board and I really didn’t want staples near it! Furthermore, there were very limited styles of frame moulding available locally and I was cheeky enough to visit all of the framers in my town and still not be satisfied with any of the mouldings!
Framing Solutions:
I ended up going through frame moulding sample catalogs online to finding a moulding I liked. The frame shop ordered a sample in for me to look at against the stitching. I decided to go ahead with framing using this moulding and I was so excited to finally get to this point as I’d been searching for a frame since August last year! I decided the best solution to mounting was to have a foam core board cut to size and to pin the stitching to the board myself. That way the board would fit nicely into the frame I wanted to use (unlike the stretcher frame) and I avioded the staples! The frame shop did cut me a piece a foamcore board and I brought some stainless steel pins to attach it to the board with.
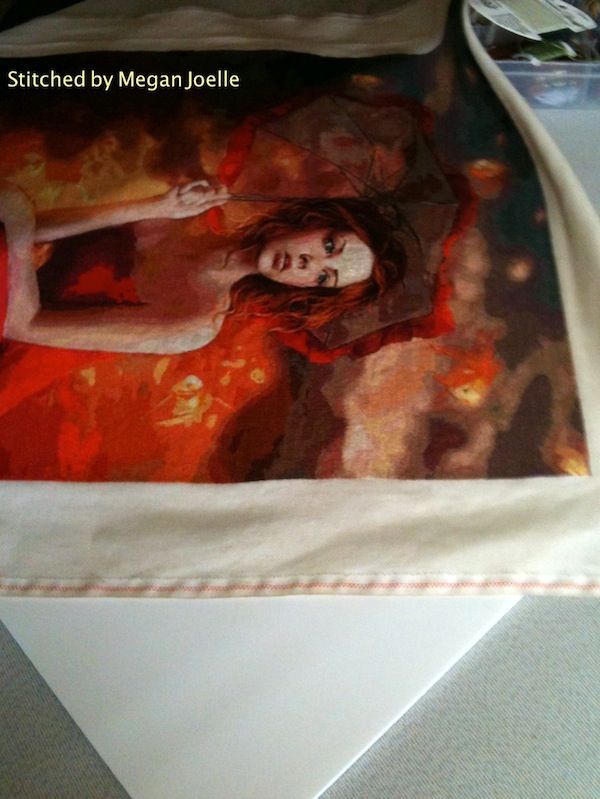
Umbrella Sky on top of foamcore board (5mm acid free board):
 Stainless steel pins I used (stainless is best as it will not rust):
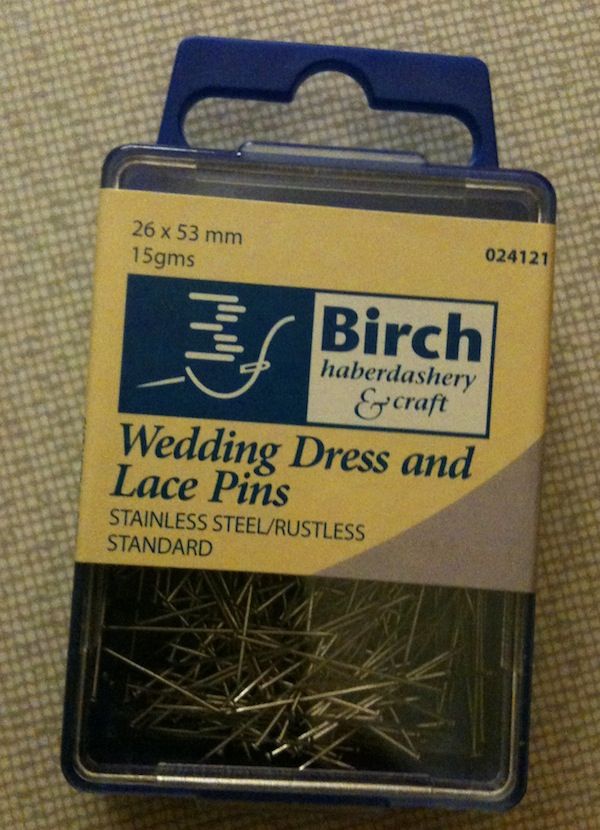
I faced another issue with the stitching not being entirely square. This happened due to the fact I started the piece with a hoop then switched to a q-snap frame halfway through. They have both pulled the fabric to different degrees. Having different amounts of tension on the fabric meant that the top section of the stitching wasn’t as stretched as the bottom. I lined the stitching up on the foamcore board then drew a line to see how much it was out by.
Top right corner: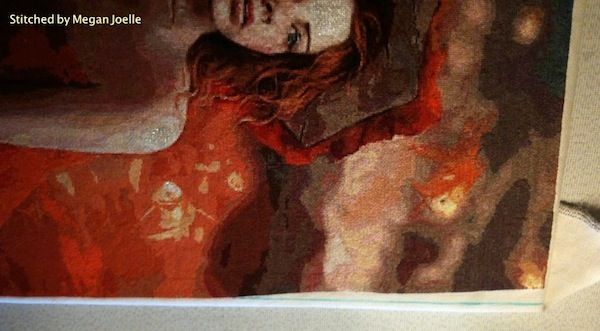 Top left corner:
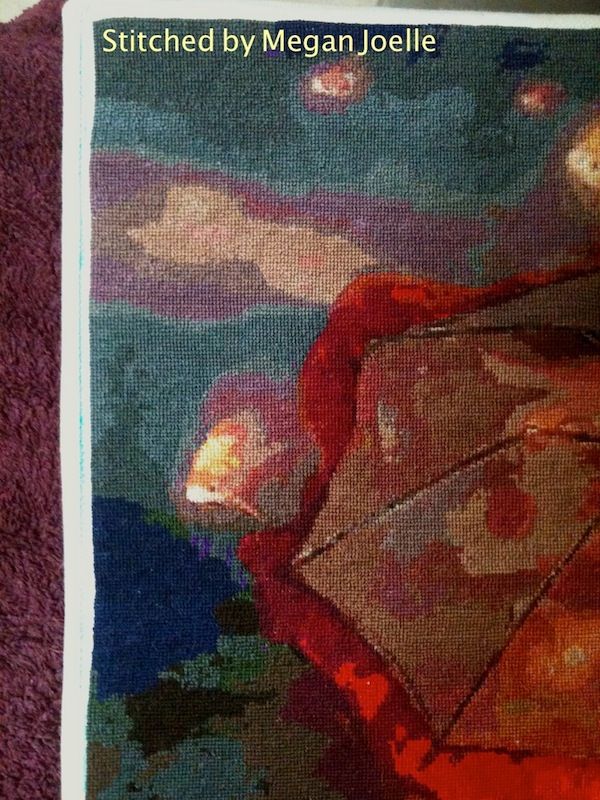
As you can see it was a huge amount! Stretching wasn’t going to be the answer… It just wouldn’t stretch that much and trying to do this would create puckering in the fabric. I ended up having to fill these sections with more stitching to straighten out the edges. This was a big job (a couple of thousand stitches). I just picked the colours up at the edges and stitched them out to the blue line… free style! As you can see the result is a much squarer piece!
Top right corner filled in: Stitching lined up on foamcore board:
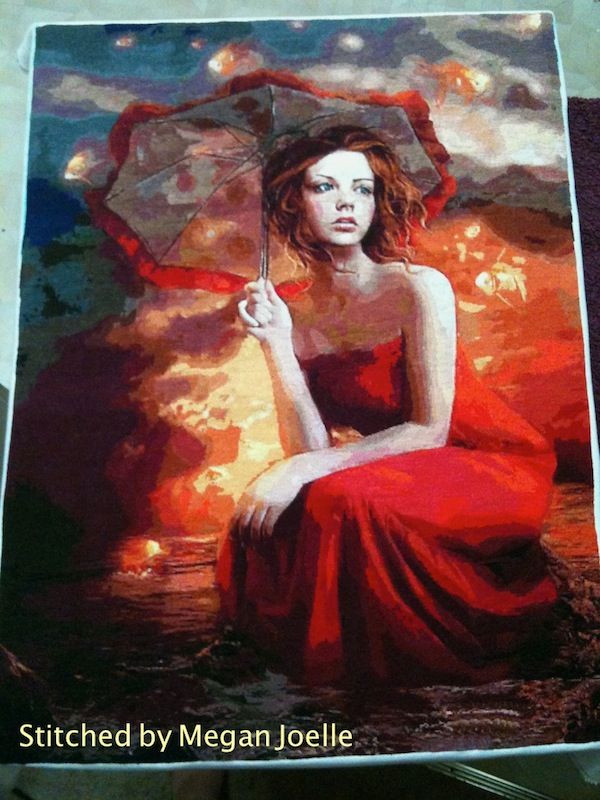
Now I was ready to pin the stitching to the board. I found a tutorial that proved to be helpful. Click here for link to tutorial
Pictures of pinning: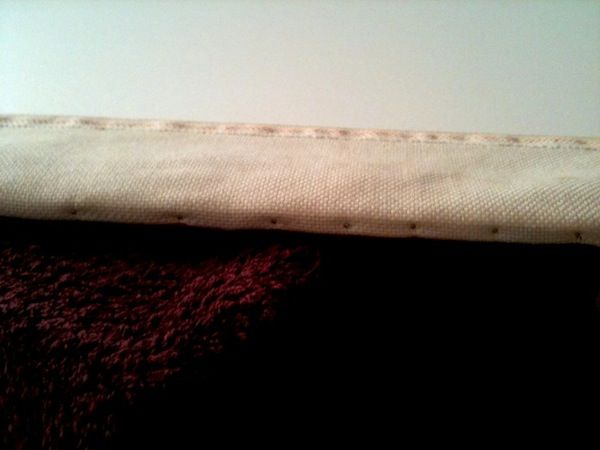 Back of foamcore, corner finish:
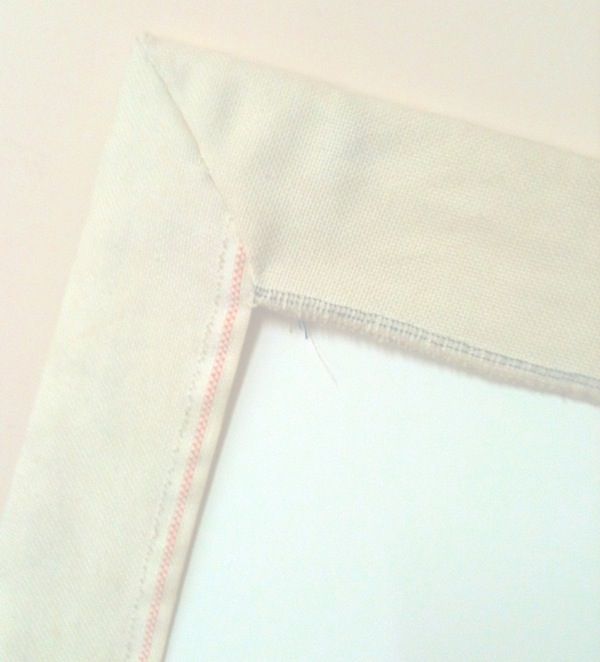
Now it's ready to go back to the framer and they will make the frame to fit the piece when the moulding arrives. After all this I have certainly learnt heaps about framing! I have never had a stitched piece framed before and it has turned out to be quite an involved process. I will share photos of the framed piece as soon as it’s finished!
Umbrella Sky pinned to backing board ready for framing:
It took me about five months to get the courage to wash Umbrella Sky. Besides I wanted to enjoy looking at it for at least that long in case something went wrong (I was concerned about the reds running). Thankfully it went well and no thread ran! She was washed in cold water with a tablespoon of Orvus Soap (also called Quilt Soap). I washed and rinsed her twice because she was extra dirty and needed it! After that I rolled the stitching between two towels to squeeze out the excess water. She was ironed (straight away) with a plain color tea towel over the top. Usually you iron the piece face down, but I found this was not as effective at getting wrinkles out. It worked much better ironing face up (with tea towel over top). Then she was left to dry on a flat surface.
I stitched my name and years worked on into the border:

Framing Dilemmas:
Different framers had different ideas on the best way to frame a work like this. This meant I ended up doing lots of research myself to try to figure out the best method to use. I considered lacing, pinning and stapling methods. I decided against lacing, which I'm sure works perfectly fine with a small piece of stitching. However, I'm sure with a piece this large it would be a nightmare! Stapling goes though the weave of the fabric, whereas pinning can go though the hole in the fabric and therefore is less damaging. So I decided pinning was the best way to go. This was an issue because the framer wanted to staple the fabric and didn't offer pinning. The other issue was the stretcher frame they wanted to staple it to was quite wide. (A stretcher frame is a wooden frame like the ones used to stretch canvas over for artists). This severely limited my choice of mouldings because it meant the moulding had to be extra deep to hold the width of the stretcher frame, the glass and spacer. (A spacer is used to keep the glass off the stitching, otherwise it could potentially get mouldy if placed directly against glass). Usually this is not an issue if you have a matt board, because then a completely different framing process is used. In that case they staple the stitching to a board and the matting obviously covers the staples and keeps the glass off the stitching. A board is much thinner and therefore you get more choice on the mouldings you can use. However, I really didn’t want a matt board and I really didn’t want staples near it! Furthermore, there were very limited styles of frame moulding available locally and I was cheeky enough to visit all of the framers in my town and still not be satisfied with any of the mouldings!
Framing Solutions:
I ended up going through frame moulding sample catalogs online to finding a moulding I liked. The frame shop ordered a sample in for me to look at against the stitching. I decided to go ahead with framing using this moulding and I was so excited to finally get to this point as I’d been searching for a frame since August last year! I decided the best solution to mounting was to have a foam core board cut to size and to pin the stitching to the board myself. That way the board would fit nicely into the frame I wanted to use (unlike the stretcher frame) and I avioded the staples! The frame shop did cut me a piece a foamcore board and I brought some stainless steel pins to attach it to the board with.
Umbrella Sky on top of foamcore board (5mm acid free board):
 Stainless steel pins I used (stainless is best as it will not rust):
I faced another issue with the stitching not being entirely square. This happened due to the fact I started the piece with a hoop then switched to a q-snap frame halfway through. They have both pulled the fabric to different degrees. Having different amounts of tension on the fabric meant that the top section of the stitching wasn’t as stretched as the bottom. I lined the stitching up on the foamcore board then drew a line to see how much it was out by.
Top right corner:
 Top left corner:
As you can see it was a huge amount! Stretching wasn’t going to be the answer… It just wouldn’t stretch that much and trying to do this would create puckering in the fabric. I ended up having to fill these sections with more stitching to straighten out the edges. This was a big job (a couple of thousand stitches). I just picked the colours up at the edges and stitched them out to the blue line… free style! As you can see the result is a much squarer piece!
Top right corner filled in:
 Stitching lined up on foamcore board:
Now I was ready to pin the stitching to the board. I found a tutorial that proved to be helpful. Click here for link to tutorial
Pictures of pinning:
 Back of foamcore, corner finish:

Now it's ready to go back to the framer and they will make the frame to fit the piece when the moulding arrives. After all this I have certainly learnt heaps about framing! I have never had a stitched piece framed before and it has turned out to be quite an involved process. I will share photos of the framed piece as soon as it’s finished!
Umbrella Sky pinned to backing board ready for framing:


Great job she looks awesome!
ReplyDeleteThanks Heather! I can't wait to share the framed version with everyone :)
ReplyDeleteThat was a hard job but well done!!, I'm sure she will be amazing once framed, I will be waiting for your next update :D
ReplyDeleteIt certainly was an involved process Karen! It will be going into the framer sometime in the next week, so hopefully I'll have an update very soon :)
DeleteStunning. Well done on getting this far.
ReplyDelete