Butterfly Cushion
The Butterfly has finally made it onto the cushion! It’s taken awhile to get round to it but here are the steps I went through to get there!
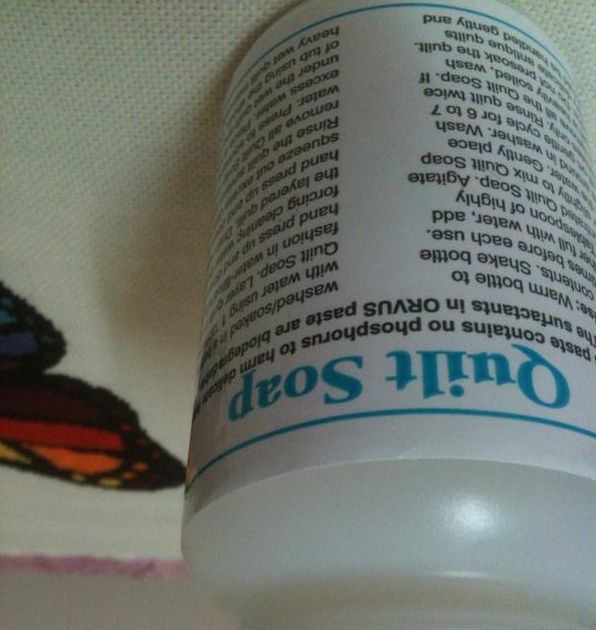
1. I washed the stitching with quilt soap. This is also known as Orvus paste and is also used for washing horses! I brought this specially to wash Umbrella Sky with because it has no harsh chemicals and wont damage the stitching.
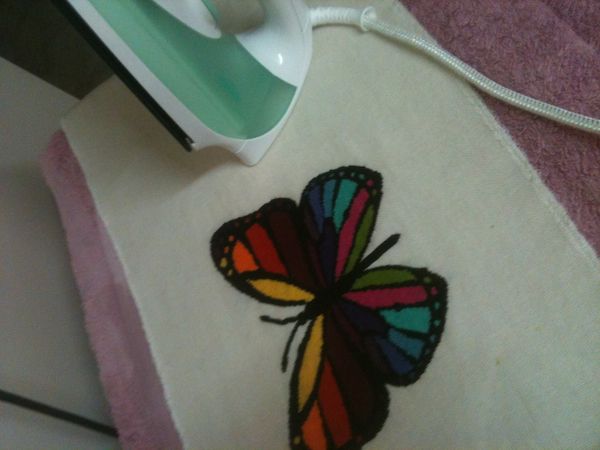
2. After washing I ironed it face down with a tea towel over the top to sort out any wrinkles. It was still a bit damp so I left it to dry.
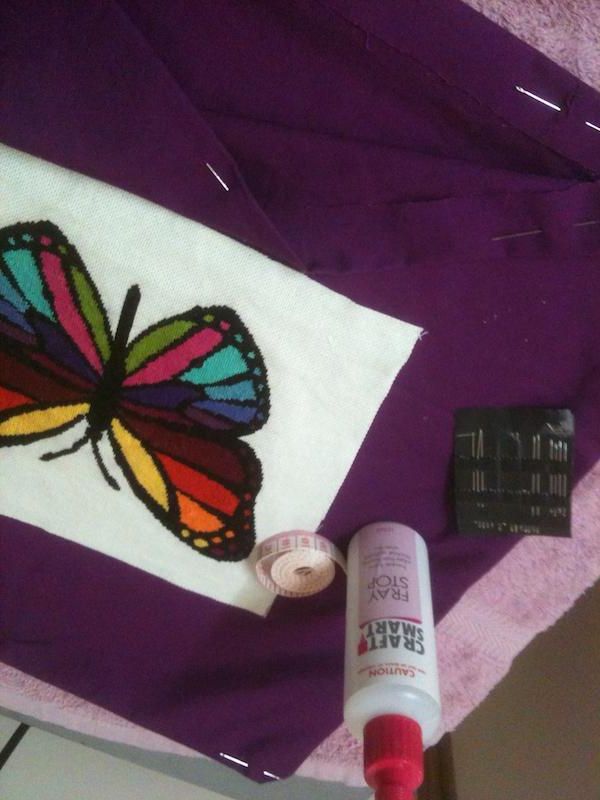
3. Here I did all the measuring for the cushion cover and pinned the seams. I chopped off the excess fabric on the butterfly and sealed the edges with the fray stop.
4. More pinning and measuring to get everything centered!
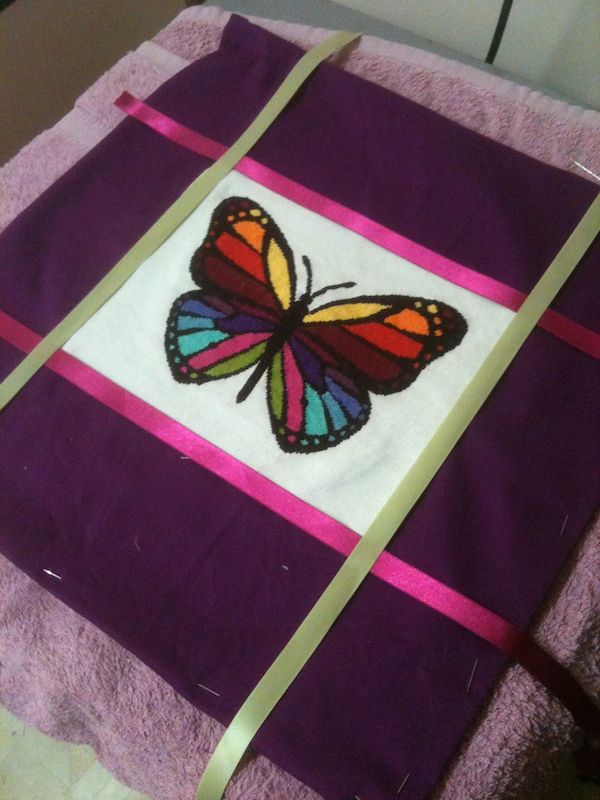
5. I needed to sew on the ribbon and butterfly to the fabric before sewing up the side seams of the cushion. I hand sewed all the ribbon and it took me about five hours!
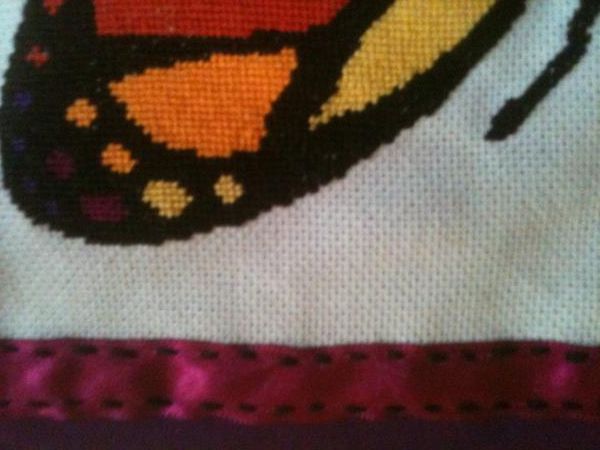
6. I sewed up the seams on the sewing machine and it is done!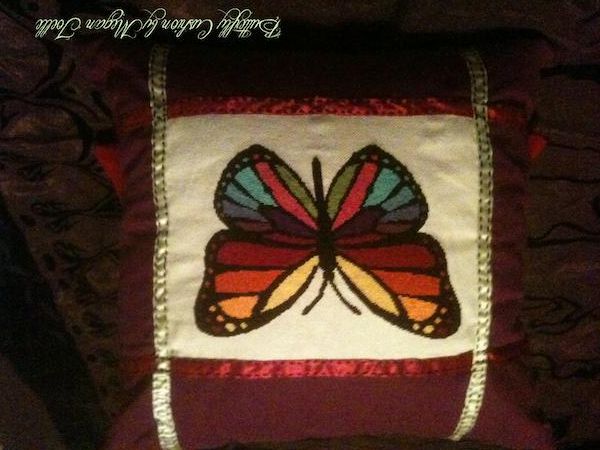
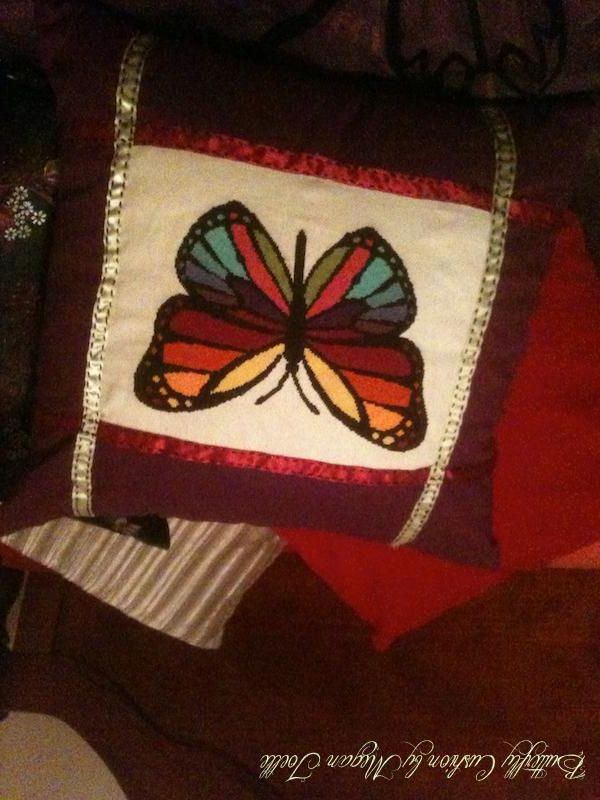
Click below for the cross stitch chart if you wish to make your own!
Have a wonderful Christmas and best wishes to you all!

1. I washed the stitching with quilt soap. This is also known as Orvus paste and is also used for washing horses! I brought this specially to wash Umbrella Sky with because it has no harsh chemicals and wont damage the stitching.

2. After washing I ironed it face down with a tea towel over the top to sort out any wrinkles. It was still a bit damp so I left it to dry.

3. Here I did all the measuring for the cushion cover and pinned the seams. I chopped off the excess fabric on the butterfly and sealed the edges with the fray stop.

4. More pinning and measuring to get everything centered!

5. I needed to sew on the ribbon and butterfly to the fabric before sewing up the side seams of the cushion. I hand sewed all the ribbon and it took me about five hours!

6. I sewed up the seams on the sewing machine and it is done!


Click below for the cross stitch chart if you wish to make your own!
Have a wonderful Christmas and best wishes to you all!


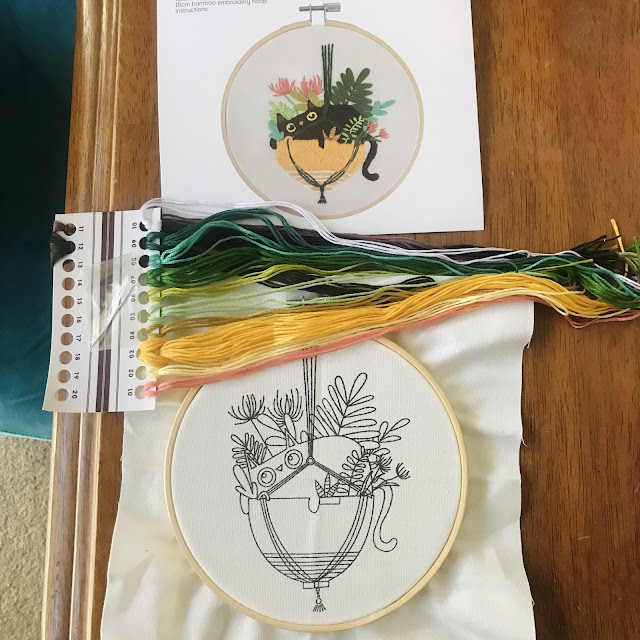


Beautiful finish! I have this pattern saved as well and will probably be doing something similar.
ReplyDeleteThanks Heather! That's awesome! I would love to see your stitching and hope you enjoy the chart:)
Delete